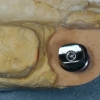
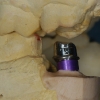
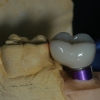
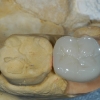
Video: Custom Atlantis Abutments
Stages completed by Dr. Kazemi
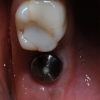
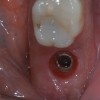
- The dental implant was placed and is now integrated and ready for the prosthetic phase.
- An index impression was taken on the day of implant surgery and sent to Atlantis for abutment and crown.
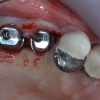
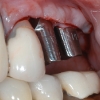
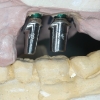
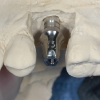
- The custom abutment was placed on the implant and torqued with a torqued driver.
- The access hole was covered with cotton pellet.
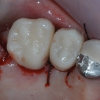
- The provisional restoration was placed with a light cement (a mixture of Tempbond and Vaseline)
- Occlusion was adjusted.
- The patient is now ready to see you for the prosthetic phase.
Stages at your office
A duplicate abutment and models are being sent to your office. The following protocol is recommended:
- Allow 6 weeks of gingival healing with the custom abutment and provisional in place.
- Inspect the gingival margin and margin of the abutment in the patient’s mouth.
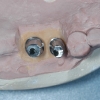
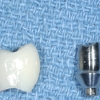
- If the margin is acceptable (at gingiva or 0.5-1.0 mm below its margin), then you can send the duplicate abutment on the model to your laboratory for fabrication of a final crown. The abutment will be on the model when you receive it and it is in exact same position as the abutment in the mouth.
When you receive the final crown:
- Remove the provisional.
- Re-torque the screw again using a torque wrench.
- Place a sealing material at the access hole (Gutta Perch is ideal for this purpose).
- Place the final crown with a minimal amount of temporary cement.
- Remove excess cement from margins (this is very important!).
- Adjust occlusion to eliminate all working and non-working interferences.
- A light occlusion on the crown is ideal.
If upon receipt of the crown, you notice slight shrinkage of gingiva and the margin of the abutment is showing, you may mark the respective site on the duplicate abutment with a pencil, and instruct your lab to modify the marked area on the abutment margin to make it at gingiva or just slightly below. They can then proceed with re-fabrication of the crown on the duplicate model.
When you receive the re-frabricated final crown on the duplicate abutment, do the following:
- Remove the provisional restoration.
- Unscrew the abutment in the mouth using the proper screw driver. If tight, gently use a hemostat to loosen it.
- Remove the abutment.
- Place the duplicate abutment (with modified margin) on the implant. Make sure it is positioned exactly as in model.
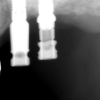
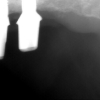
- An X-ray may be done to verify proper seating.
- Torque the screw using a torque wrench.
- Place cotton pellet in the access hole and place the crown with very light cement (half temp-bond, half Vaseline).
- Adjust occlusion.
- It is recommended to re-torque the screw again in 7-10 days using a torque wrench.
- Place a sealing material at the access hole (Gutta Perch is ideal for this purpose).
- Place the final crown with a minimal amount of temporary cement.
- Remove excess cement from margins (this is very important!).
- Adjust occlusion to eliminate all working and non-working interferences.
- A light occlusion on the crown is ideal.
If the patient has parafunctional habits or anticipated strong occlusal forces, an occlusal guard is highly recommended.
